Few things are more frustrating than carefully choosing the colors of your graphic only to have the final print look nothing like you imagined. By not taking the right steps beforehand, you risk ending up with dull colors, blocky gradients and fuzzy edges where you wanted crisp lines. Here are a few tips to keep your colors crisp and consistent:
Calibrate your monitor
Check your monitor’s color settings before you even begin to design your graphic. Calibration is the only way to make sure what you see on the screen will turn out the same color as the final printed product. As Photography Life pointed out, proper calibration also helps you see minute color transitions and accurate tones. If you find your graphics are consistently over- or undersaturated once they get back from the printer, your computer monitor might be the problem.
There are plenty of free online calibration tools that you might be tempted to use for your business. These are fine for casual computer users, but professionals should invest in a reputable calibration hardware kit.
“High-resolution images capture more information in the same amount of space.”
Work with high-resolution artwork
The word “resolution” refers to the quality of your graphic. Images with high resolutions are sharper, more vibrant and better defined than their low-res counterparts. This is because they capture more information in the same amount of space. Lower resolution files have to compress information, meaning they pick and choose what is important to your artwork and get rid of the rest. For example, say your POP graphic contains a stunning image of a rainbow. A high-resolution file will show the subtle transitions between the different colors, and each hue will be nice and bright. These transitions aren’t as smooth in low-resolution pictures.
Choose a high-resolution printer
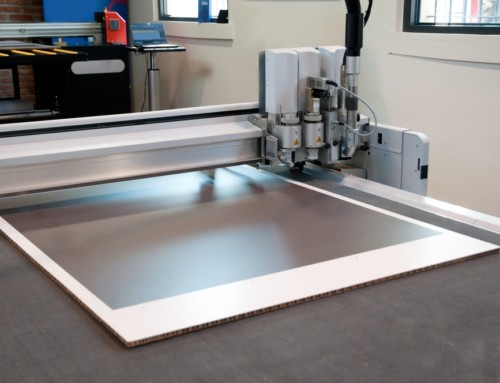
Resolution means almost the same thing in terms of printing as it does when it comes to your artwork on a computer. Instead of data, digital printers work with dots. A printer that can drop a high number of ink dots in one square inch – in other words, one with a high DPI, or dots per inch – has a greater resolution than one that only places a low number of dots.
Think of the difference between something you print at home and a professionally printed product. Most home office printers are capable of printing at 300 to 600 DPI. Comparatively, NGS Printings’ Inca Onset Q40i can print up to 1,200 DPI because of its incredibly small drop size.
Match your colors
Your printing partner should provide color matching services to make sure their ink matches your image. There are two ways to match hues: process and spot colors. As Pantone explained, process colors, also known as four-color process, combines cyan, yellow, magenta and black to get the shade you need. Meanwhile, printing with spot colors is another color matching method using premixed ink, which can be more consistent and exact. Both allow printers to match your colors, ensuring your logos and branding are consistent across your displays, signs, fliers and other branding elements.
Color proof your artwork
A color proof is essentially a test print to show you how your graphic will look as a final product. At this point, you can make any last-minute adjustments to the ink or your artwork before it’s sent to production.